Internal Ball Valve Leak: A Complete Guide to Diagnosis and Repair
A leaking ball valve can be frustrating and costly, impacting system efficiency and potentially causing safety hazards. This guide equips you with the knowledge to diagnose the cause of an internal ball valve leak and explore potential repair options.
Diagnosing the Leak:
Identify the Leak Location:
Stem Packing/Gland Nut: Look for moisture or residue around the stem where it exits the valve body. This indicates worn or damaged packing material.
Body Seals: Check for leaks around the body joints or flanges, suggesting gasket or O-ring failure.
Ball Seat: This leak is less common but possible, indicating seat damage or debris interference.
Observe Leak Severity:
Minor Drip: This might be manageable with minor repairs, like tightening the packing nut or replacing a seal.
Significant Leak: This necessitates prompt action, potentially requiring valve disassembly and component replacement.
Consider Operating Conditions:
Pressure and Temperature: Excessive pressure or temperature can stress seals and contribute to leaks.
Fluid Compatibility: Incompatible fluids might degrade seals or the ball, leading to leaks.
Valve Age and Service History:
Regular Maintenance: Proper maintenance helps prevent leaks by ensuring proper lubrication and component integrity.
Excessive Wear and Tear: Extended use or harsh operating conditions can lead to component wear and leaks.
Repair Options:
Minor Leaks:
Tighten Packing Nut: If the leak originates from the stem packing, try carefully tightening the packing nut. Avoid overtightening, as this can damage the stem.
Replace Seals/Gaskets: Replace worn or damaged O-rings, gaskets, or other sealing components based on the leak location.
Significant Leaks:
Valve Disassembly and Inspection: In cases of major leaks or persistent minor leaks, disassembly is necessary to pinpoint the exact cause and determine appropriate repairs.
Replace Worn Components: Worn or damaged balls, seats, springs, or other internal components might require replacement.
Professional Repair: For complex leaks or valves under warranty, seeking professional repair services from the manufacturer or authorized repair centers is recommended.
Preventive Measures:
Regular Maintenance: Follow manufacturer's guidelines for lubrication, packing adjustments, and periodic inspections.
Proper Installation and Operation: Ensure the valve is correctly installed and operated within its pressure, temperature, and flow rate specifications.
Use Compatible Fluids: Select valves and components compatible with the specific fluids being handled.
Promptly Address Minor Leaks: Don't ignore minor leaks, as they can worsen and lead to more extensive repairs or replacements.
Tips:
Consult Valve Documentation: The manufacturer's manual or technical data sheet often provides specific troubleshooting and repair guidance for your valve model.
Safety First: Always prioritize safety during valve repairs. Ensure the system is depressurized and power is off before proceeding.
Seek Professional Help: When unsure about the repair complexity or your own capabilities, don't hesitate to seek professional assistance from qualified valve technicians or the manufacturer.
By following these steps and understanding the underlying causes of internal ball valve leaks, you can effectively diagnose the problem, choose the appropriate repair approach, and implement preventive measures to ensure optimal valve performance and longevity. Click to learn more about ball valve leaking internally.
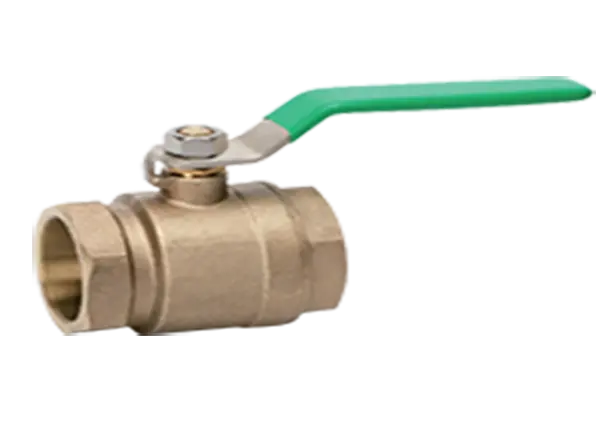
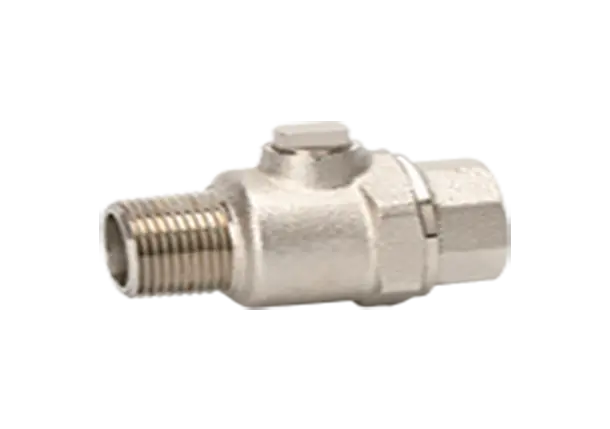
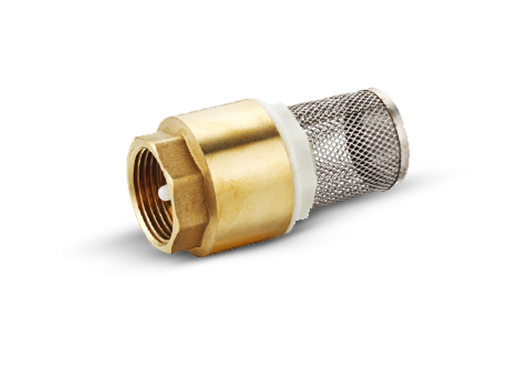
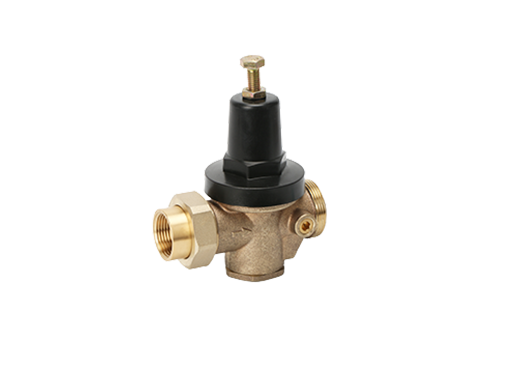
Different Carbo Valves For Sale

